Sourdough Artisinal Bread
Posted on
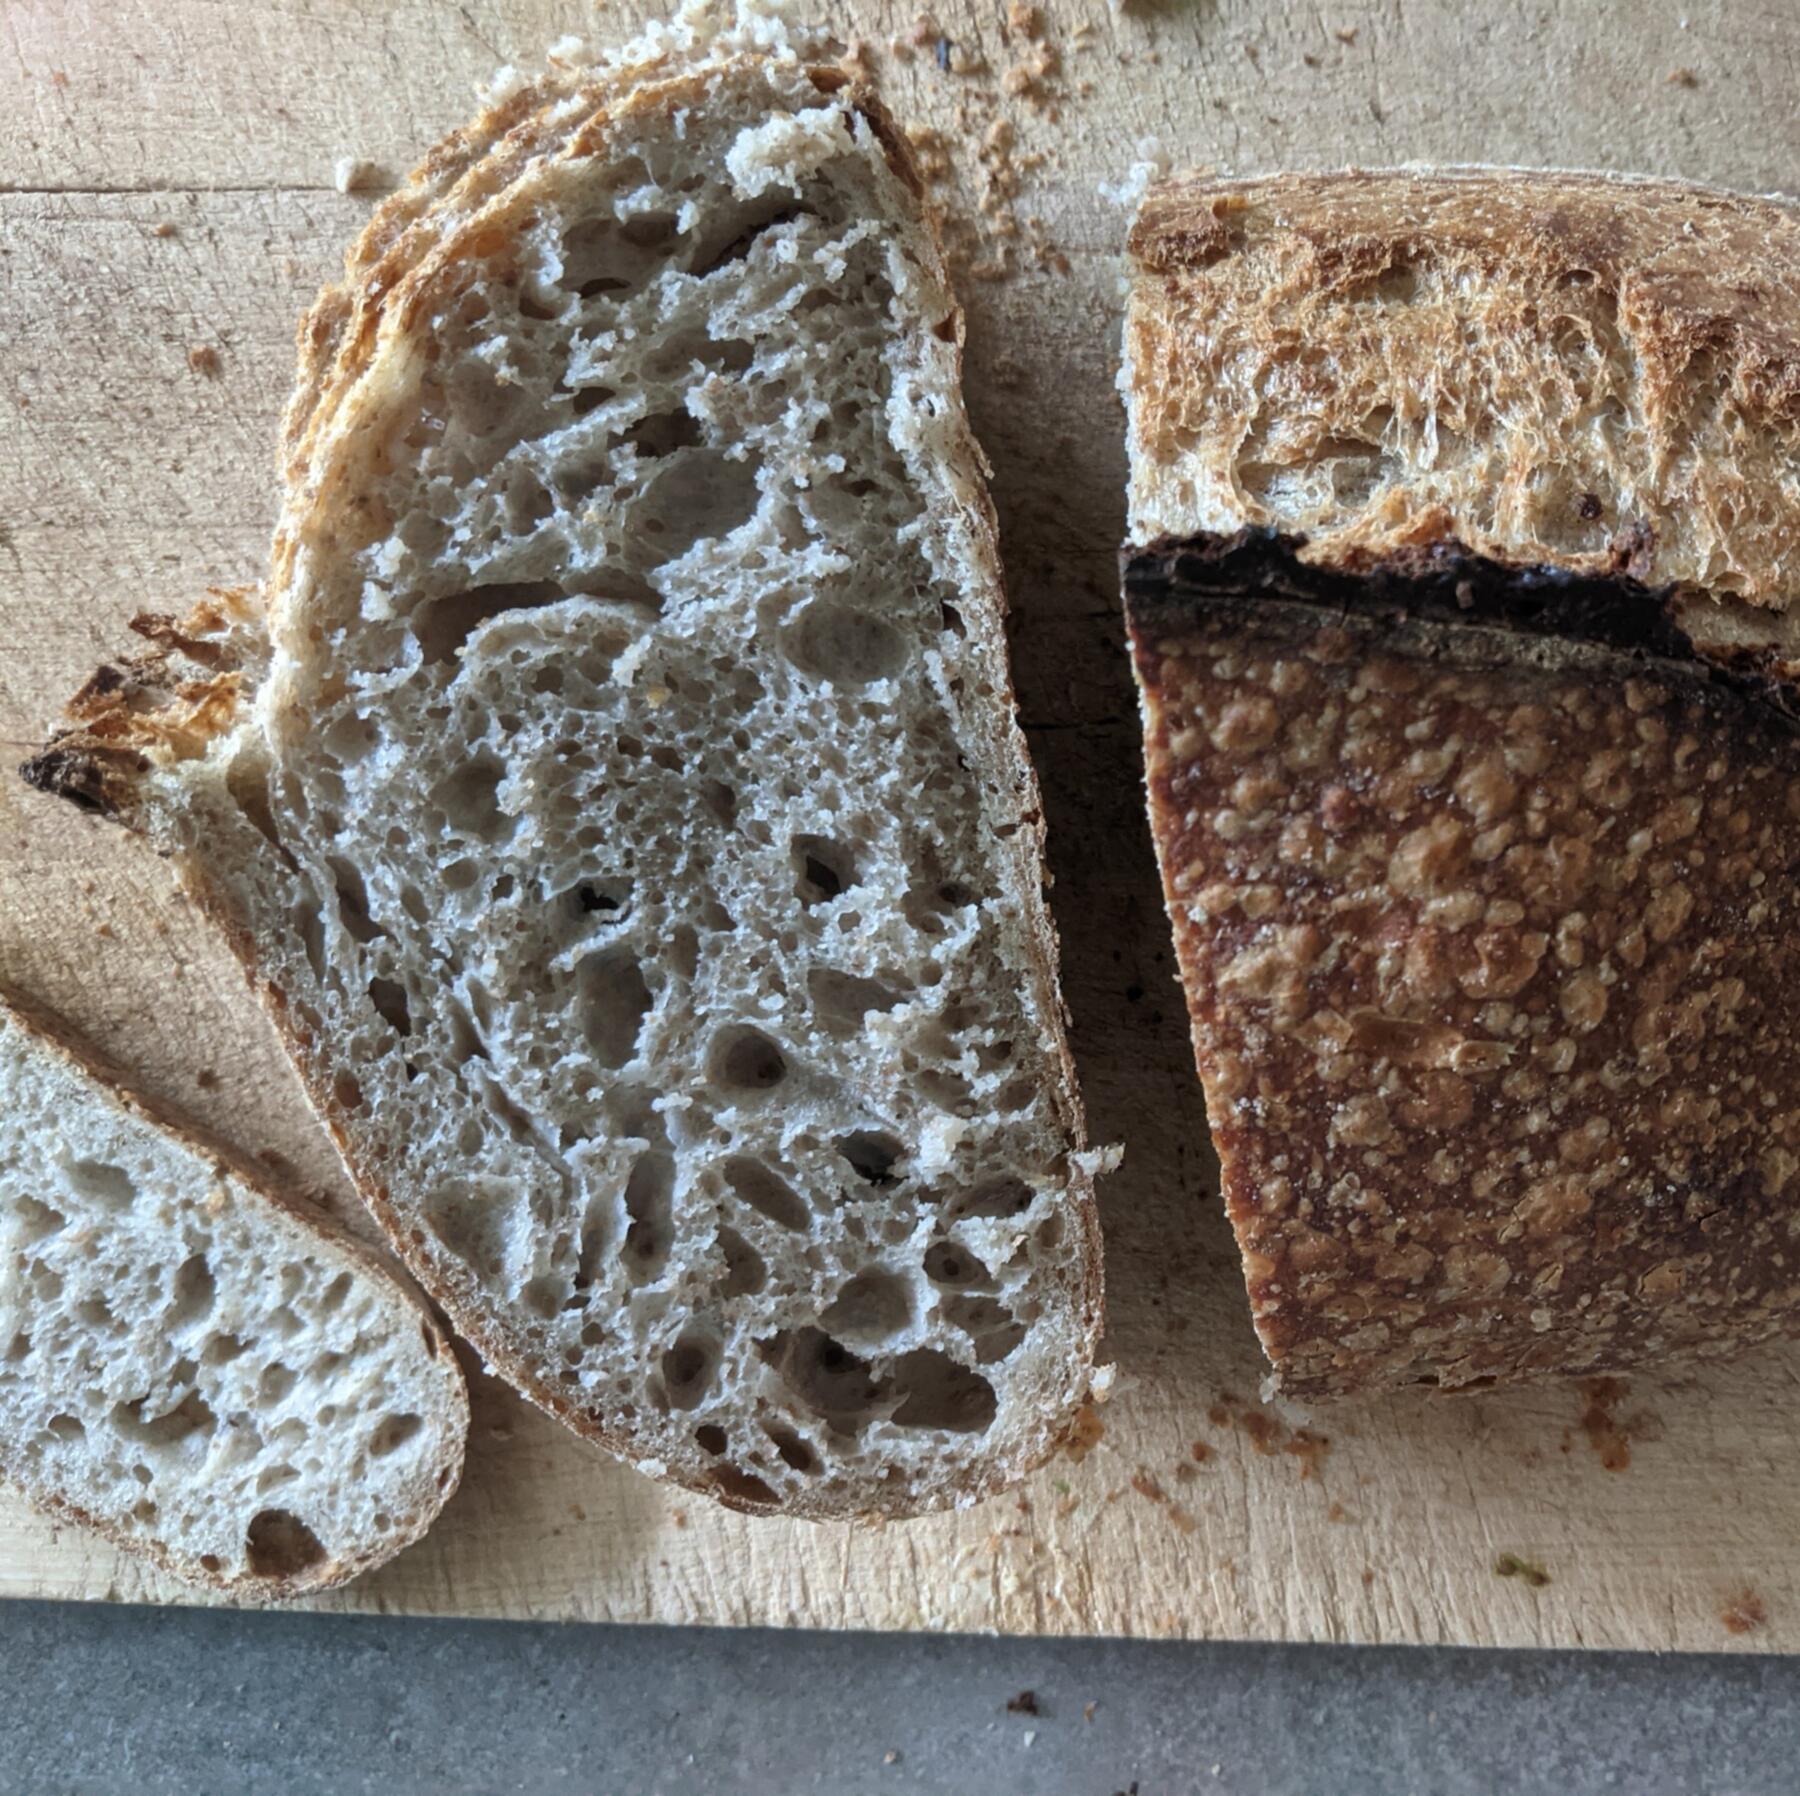
This is my base recipe for sourdough bread. It creates beautiful bread with low effort, but does require some steps along the day. You start the evening, the next day you slowly mix and shaped the dough, the morning afterwards you bake it, and during lunch on the second day you have a delicious bread.
This recipe and technique is inspired by FoodGeek's Master Recipe, I recommend watching the video as it might make the steps described here make more sense.
Ingredients (1 loaf of 780g)
Since this recipe is only flour and water, be sure to read the Flour tips section on getting the right kind of flour.
Levain
- 20g white flour (bread flour if available, at least get unbleached flour)
- 20g whole grain flour
- 40g water
- 8g active sourdough starter
Bread
- 200g white flour (bread flour if available, at least get unbleached flour)
- 200g whole grain flour
- 6g salt
- 80g levain (added for completeness)
- 300g normal temperature water (use cold in warm summer days)
Note, this makes it into a 77% hydration bread, which is a good starting point. Increasing the water to 315g will get you a 80% bread, which has a bit nicer crusts, but will be harder to shape.
Steps
This bread follows these stages:
- Levain: growing the levain (a fork of your starter) the evening before
- Bulk: mixing and bulk fermentation
- Cold proofing: overnight cold final proofing in the fridge
- Baking: bake in bread and enjoy
Levain (the evening before)
The Levain is the sourdough culture that you will grow specifically for making this bread. It is just an offshoot (or fork) of the starter culture you've been cultivating.
- mix all ingredients of the levain (flour, start, and water)
- Put it in the right place so that next morning it's at double the size (before deflation)
This step all depends on you temperature in your house and the activity of the starter. All starters have a different profile (both depending on temperature and flour). For mine, I have it in a place that is roughly 19-20c and feeding it at this 1 to 5 ratio gives me a levain at peak the next morning.
Bulk (first day)
We will now be slowly growing the glutens in our dough and spreading the yeast culture through the dough.
In the morning
- After mixing flour and salt add the starter and water (measure as accurate as you can)
- Take a spoon and start incorporating all the water with the flour, this should take max 2 minutes. The goal is to have no dry lumps anymore.
- Cover with wet tea towel and let it rest at a place that is roughly 20c (in the warm summer, put it in a cooler spot).
Around lunch time
- Wet your hands and strech and fold the dough: Grab a side, stretch it upwards, fold it over-itself
- Repeat this for all four sides
- Cover with wet towel and wait 30 minutes
- Repeat stretch and fold (on all four sides), you should notice more strength in the dough.
- Cover with wet towel and wait 30 minutes
- Repeat stretch and fold (on all four sides), you should notice more strength in the dough.
- Cover with wet towel
- Now comes the "hardest" part, we have to let the dough rest until it's roughly 75% bigger than the original size. It will take between 2 and 5 hours, depending on your flour, starter culture, and the temperature of the room.
Shaping the dough
When the dough has risen enough:
- Carefully put the dough on a lightly floured surface
- Shape the dough into boule
- Place dough upside-down in a bowl (put a flour covered tea-towel inside it) or banneton
- Put dough inside a plastic bag (to seal it) and put it in the fridge
If you are early in the day, find a cold spot in the fridge, if it's late at night: put it at a higher shelf.
Baking (second day)
Now the time has come to bake your bread.
- Heat a cast-iron dutch oven in your oven at max temperature for at least 30 minutes
- When done heating, take the dough out of the fridge
- Flip dough onto a baking-paper that roughly matches the size of your dutch oven
- Take a sharp knife, make an top to bottom incision, slightly off center, at a 45 degree angle
- Take dutch oven out of the oven, transfer dough (warning, it will be HOT)
- Put the lid on it, and put it in the oven
- Bake for 20min at 240C
- Remove lid
- Bake for 25-30min at 210C (pick your crust color)
- Let the bread cool on a wire-rack
- Wait 2 hours before cutting into it, the bread is still baking internally
The bread should be ready by lunch. Enjoy!
Creative tips
- Once you get comfortable with the dough and recipe, try it with 310g or 315g water, if the flour can handle it, you'll get juicier bread.
- 60% (or even 70%) whole grain flour is nice, above it requires a lot more skill.
- Try some inclusions, start with 75-100gr. Make sure to presoak the dried fruits, but remove excess moisture before adding to dough. Inclusion suggestions:
- Seed mix
- Raisins
- Olives (cut them in half) & rosemary
- Figs & walnut
- Small chunks of dark chocolate
Flour tips
- If possible, get flour from a stone-ground mill, it really makes a difference.
- Make sure the flour doesn't contain any additives (like bread risers or stabilizers)
- You can replace white flour with white spelt flour
- You can add 50g of whole grain rye flour and only add 150g of another whole grain flour that does have glutten